Styles & Presets
The Styles section in the right panel is where you style an element. It holds all the usual options — fill (solid color, gradient, image, or video), border, radius, shadow, padding, margin, overflow, opacity, clip path, transform, and more.
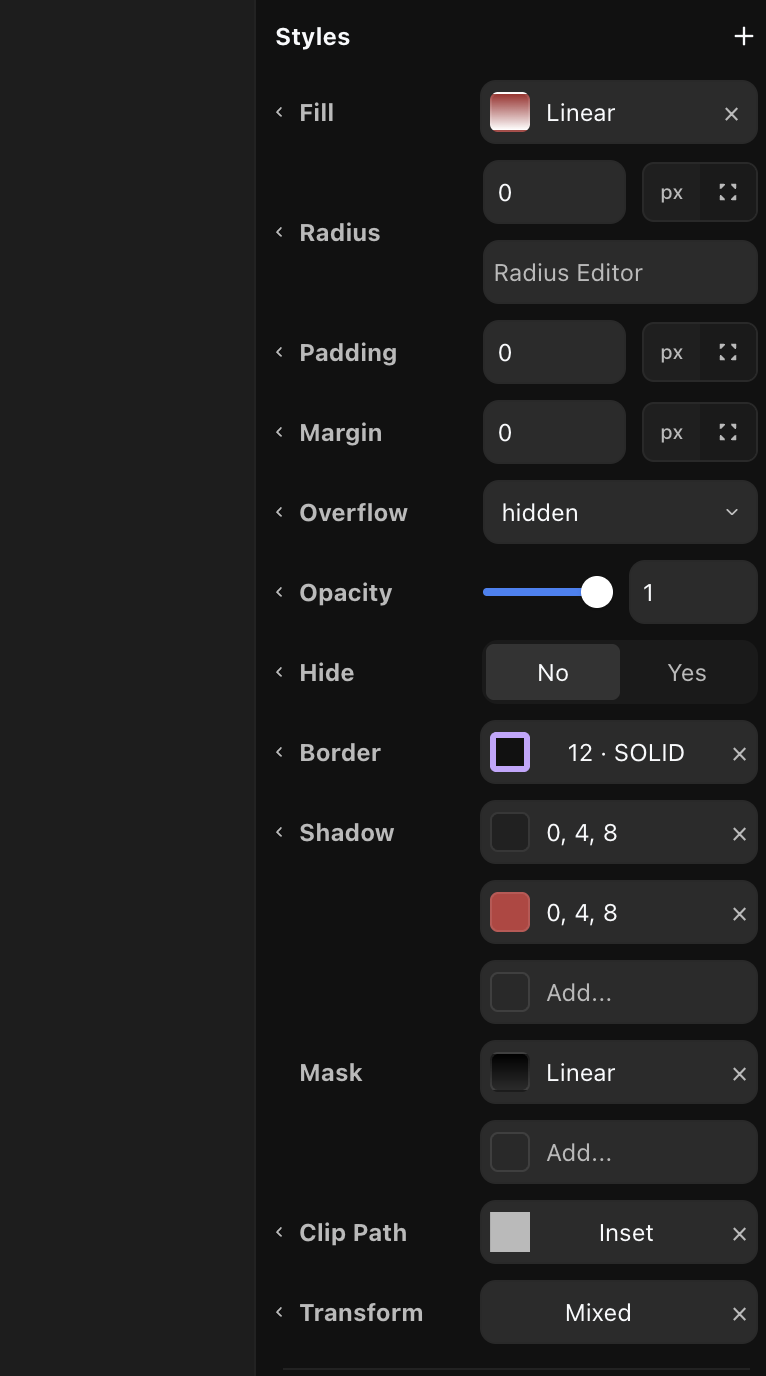
Press the + at the top to add extra styles like mask, filters, and others. Set a color directly, or apply a color preset.
Presets
Presets are reusable design tokens. Save a value once, apply it anywhere, and edit it in one place to update every element that uses it.
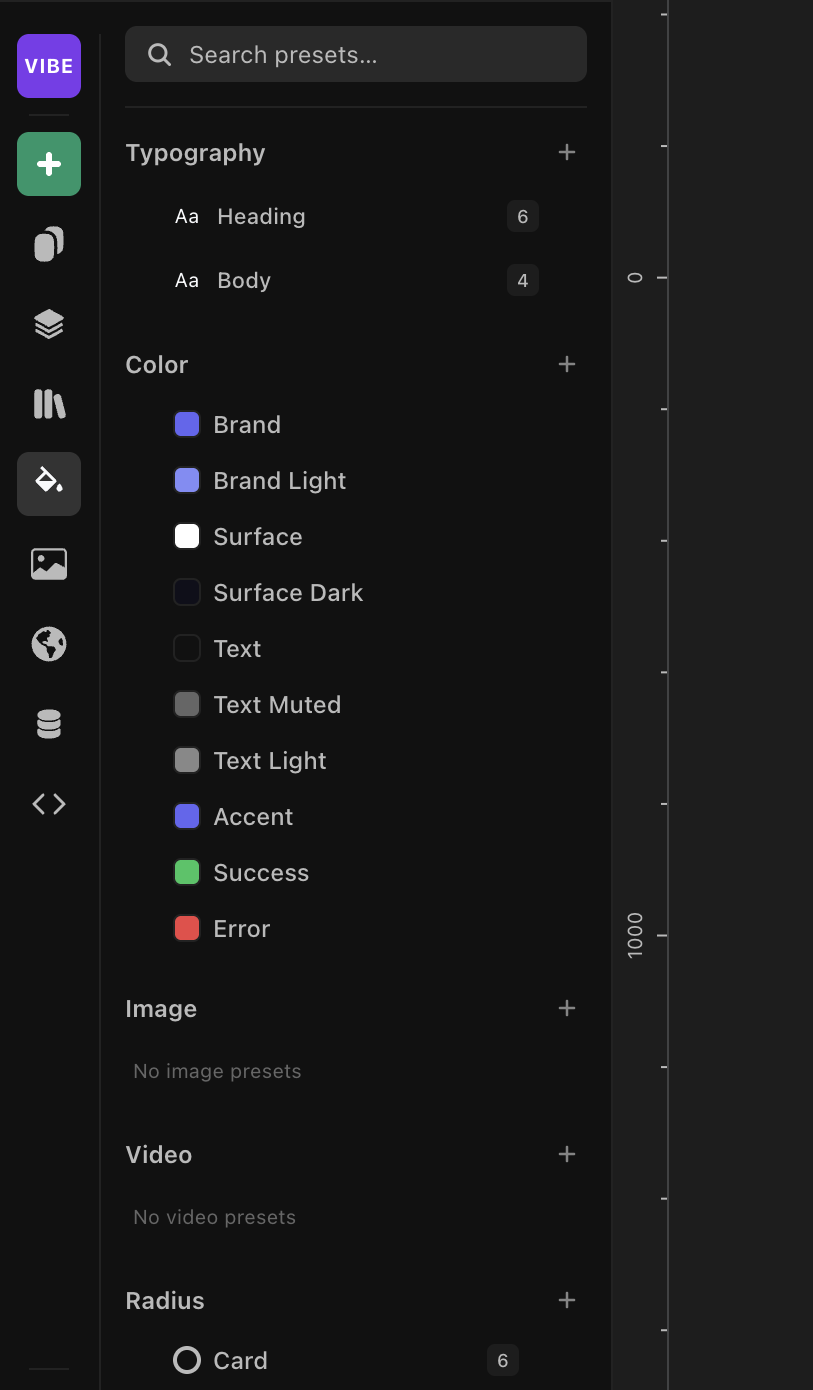
You can make a preset for almost any style:
- Color
- Typography — font, weight, size, line height, spacing, and more
- Border
- Radius
- Padding and margin (spacing)
- Shadow
- Image and video backgrounds
The number on the right of each row is how many elements in the project use that preset. Open it to see them and click through to jump straight to that element on the canvas. Group presets into folders to keep them organized.
Applying a preset
Where you apply a preset depends on the kind.
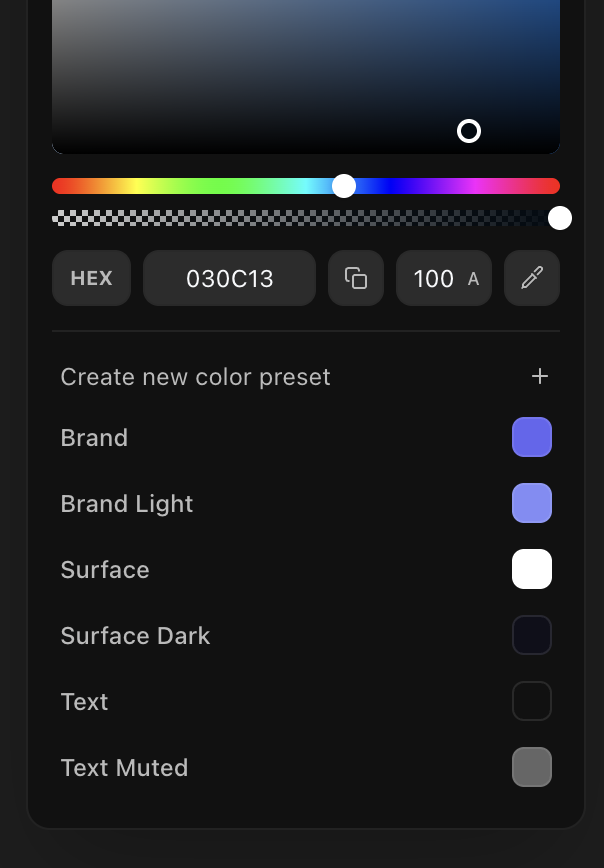
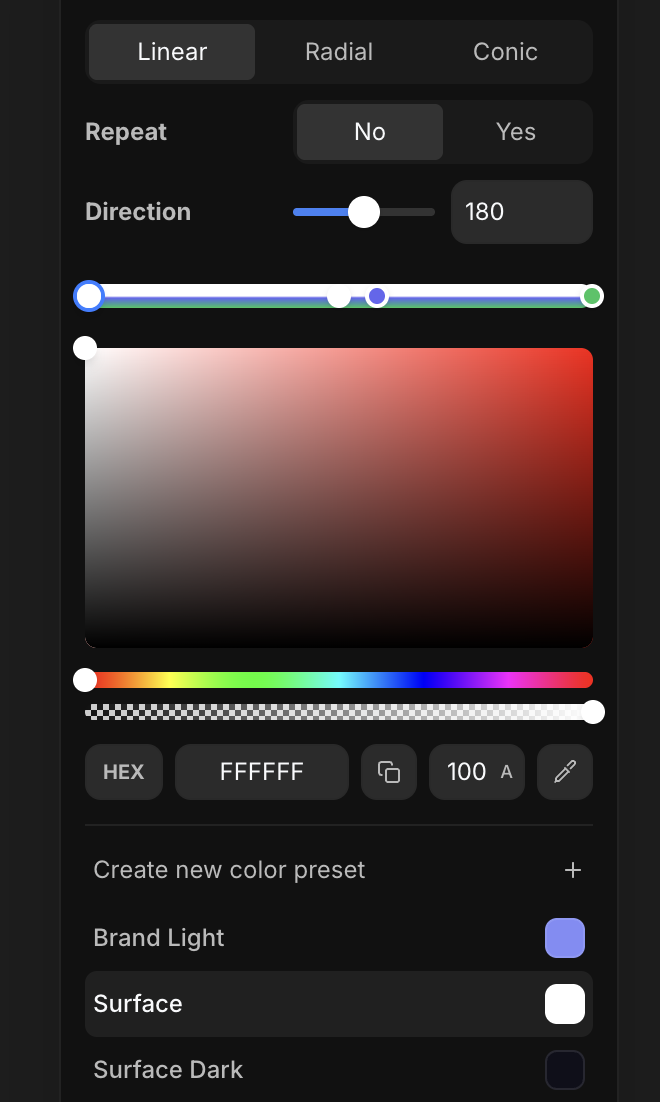
Colors
Open the color picker and the preset grid sits right underneath — click a swatch to apply it, or Create new color preset to save the current color.
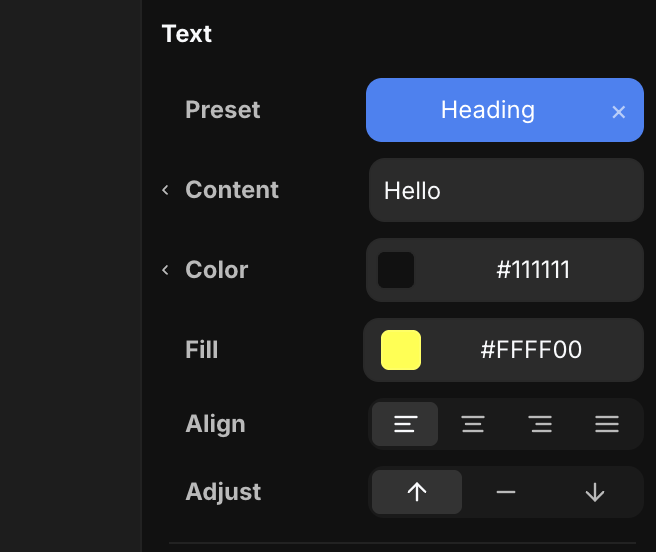
Typography
The first row of the Text tool is Preset. Apply a type preset there, or create a new one from the current text.
Radius, padding, margin, border, shadow
Click the control's label to open its presets menu, then apply a preset or create a new one from there.
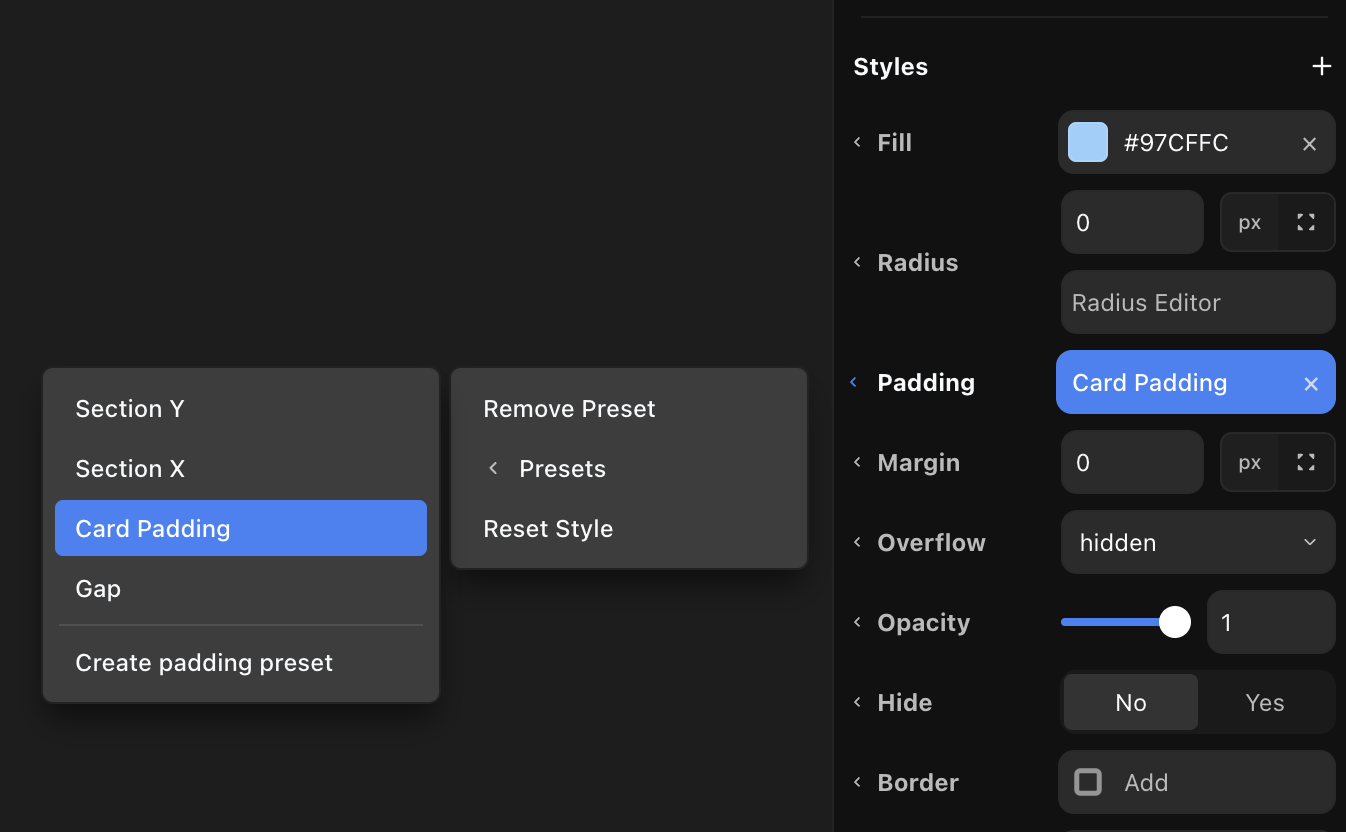
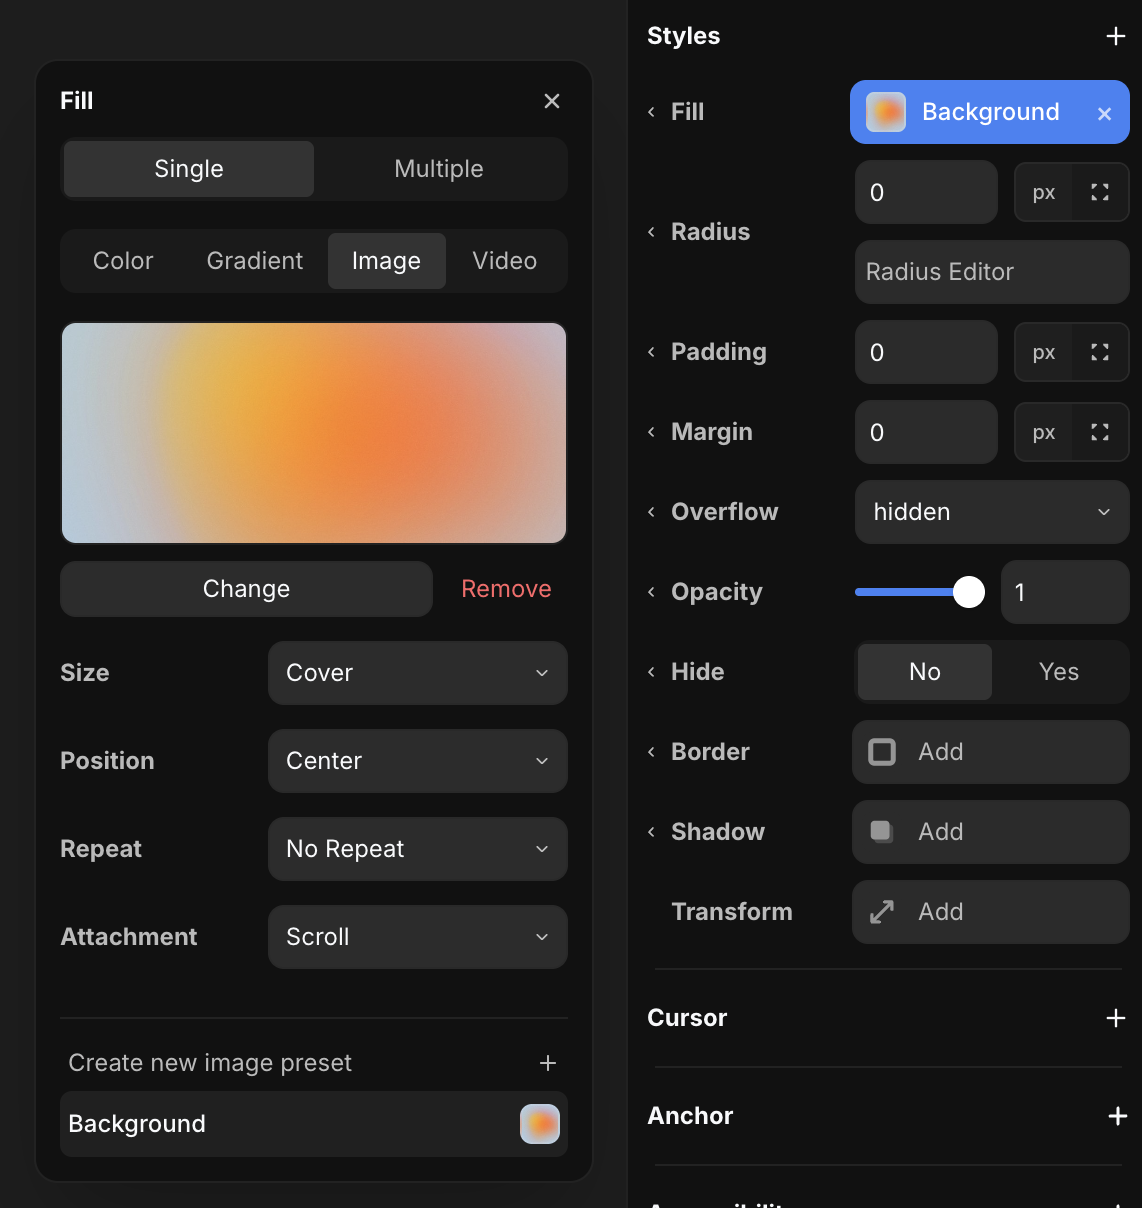
Image & video backgrounds
Image and video presets live in the Fill tool. Switch Fill to Image or Video and apply a preset from the grid underneath — the same way as colors.
Gradients
On a gradient, you can attach a color preset to each individual stop — so one gradient is built from several color presets, one per stop.
How presets ship
Presets are stored as CSS variables in the project, so they carry into the exported code.